Finished Module Protection During Crane Placement
A crane set can place a finished module within inches of its final position, but those last inches carry real risk. Finished module protection depends on preparation long before the crane takes the load.
New siding, windows, trim, roofing, and interior finishes can suffer damage from rushed rigging, poor access, unstable ground, or a foundation that misses its bearing elevations. A disciplined plan protects the structure, the crew, and the construction schedule.
Finished Module Protection Starts Before the Lift
Protection begins with a site review, approved structural plans, and a clear sequence for delivery and placement. The crane crew needs accurate information before it arrives, including module weights, pick points, crane radius, set order, and final bearing locations.
For elevated coastal homes, the concrete structure must be ready before trucks and crane equipment enter the property. Columns, grade beams, pile caps, and elevated slabs need to match the approved layout and elevation.
Verify every bearing point
A module needs even, properly located support when it comes off the crane. Crews should check each bearing surface for elevation, alignment, dimensions, and clean contact areas before the first pick.
Concrete debris, loose shims, standing water, or misplaced anchor hardware can interfere with the set. Correcting these items while the module hangs over the foundation adds pressure and increases the chance of surface damage.
Use a pre-set inspection to confirm:
- The concrete matches the approved plans and has reached the required condition for loading.
- Bearing points are clean, accessible, and set at the proper elevation.
- Required connectors, embeds, and fastening materials are on site.
- The crew has a safe route to move around the elevated structure.
A module can be level at one end and still lack full support at a bearing point. Small elevation errors become harder to correct after sections are joined.
Match the set sequence to the structure
The placement order affects access for the crane, riggers, and installation crew. On a multi-section home, the first module should land where it allows the next section to approach without scraping corners, overhanging roofs, or exterior finishes.
The set plan should also account for temporary bracing and access to connection points. Once a section blocks a work area, the crew may lose the room needed to inspect or secure the next section properly.
Build the Lift Plan Around Finished Surfaces
A detailed lift plan protects more than the module's structural frame. It also accounts for roof edges, siding, eaves, windows, porch components, and any finished surfaces exposed during handling.
During Modular Home Installation , the crane operator, rigger, and set crew need one shared plan. Hand signals, radio communication, travel paths, and stop points should be agreed upon before the load leaves the truck.
Use approved pick points and proper rigging
The crew must attach rigging only at approved lifting locations. Improvised attachment points can damage framing, distort the module, or leave visible repairs on finished exterior areas.
Spreader bars can help control sling angles and keep rigging away from roof edges or wall surfaces when the lift design calls for them. Edge protection at sling contact points also reduces the risk of crushing trim or scratching siding.
Before the lift, inspect shackles, slings, hooks, spreaders, and tag lines. Damaged or mismatched rigging has no place on a finished residential module.
Plan for swing clearance
A suspended module doesn't move in a straight line by itself. Wind, boom movement, load rotation, and tag-line input can shift its path. The crew needs enough clearance around trees, utility lines, scaffolding, parked vehicles, and nearby structures.
Long eaves and roof overhangs deserve extra attention. A section may clear a wall while its roof edge catches a branch, temporary handrail, or another module.
Clear communication matters most during direction changes. The signal person should have a full view of the load and authority to stop the operation when conditions change.
Prepare Crane Access and Ground Support
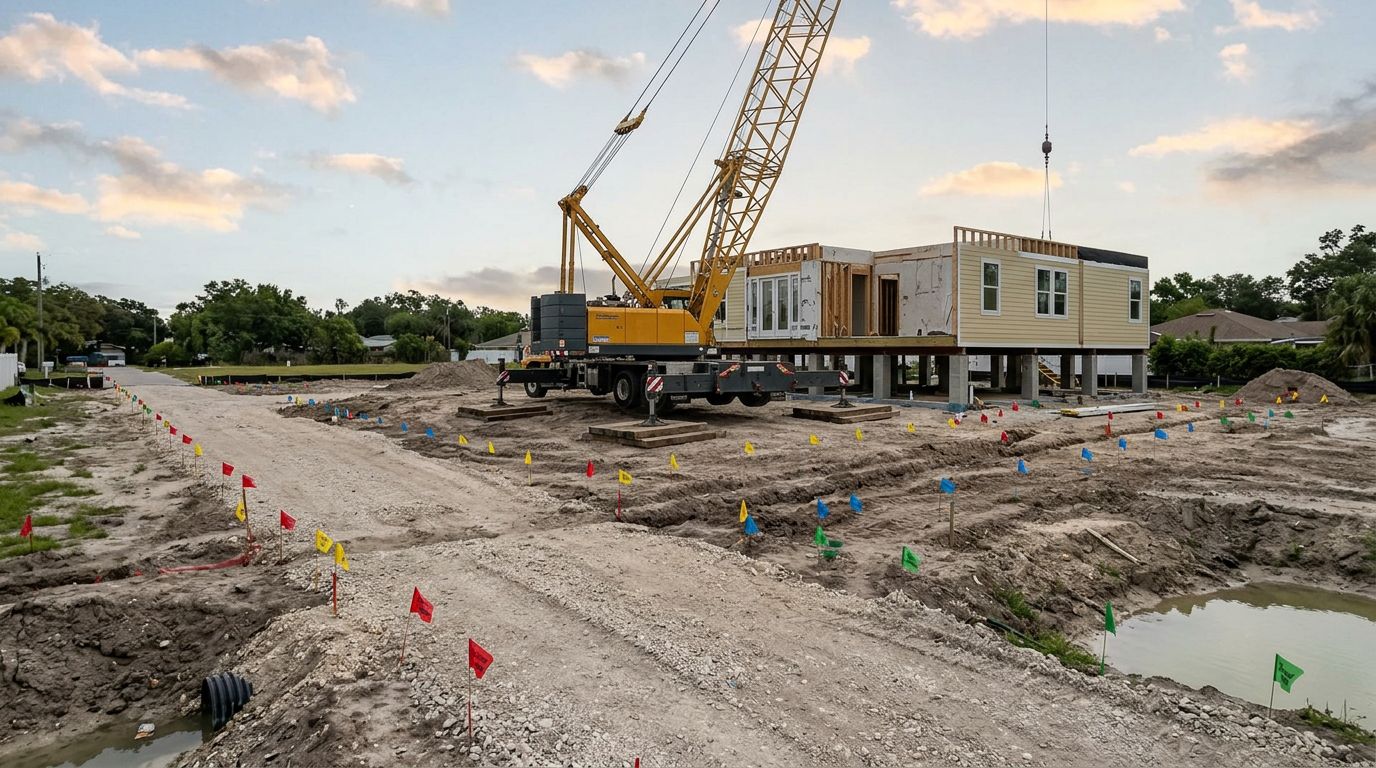
A crane's capacity depends on more than the module's weight. Boom length, operating radius, outrigger spread, ground conditions, and site restrictions all affect the lift.
A narrow waterfront lot can limit crane placement and delivery options. Soft shoulders, drainage swales, fill soil, gates, overhead lines, and sharp turns can force changes to the original plan.
Check the crane path and outrigger locations
Walk the route used by delivery trucks and crane equipment. Measure clearances at gates, driveways, tree canopies, utility lines, and turns. Confirm that truck drivers have a staging location that doesn't block the crane's setup area.
Outriggers create concentrated loads, especially when the crane works at a long radius. Recently placed fill, wet ground, loose shell, or saturated sand may need engineered mats or ground improvement before equipment arrives.
The site should support the actual crane configuration, not an assumption based on an empty lot. A visual review alone may not reveal buried voids, shallow utilities, or weak soil.
Keep access work inside the written scope
Some installation crews handle limited clearing or temporary grading. Other contracts require the owner, builder, or site contractor to provide a compacted work area before mobilization.
Written responsibilities should address fence removal, debris clearing, vegetation trimming, temporary erosion control, and restoration after crane work. These details often decide whether the set begins on time.
For coastal properties, a restricted entry route may limit the crane size and the angle available for placement. In some cases, crews may need off-site staging, temporary traffic control, or a revised delivery schedule.
Protect Exterior Finishes During Delivery and Set
Finished modules face risk before the crane begins lifting. Delivery straps, road debris, low branches, tight turns, and unloading activity can damage trim, siding, gutters, and roof details.
The protection plan should identify vulnerable areas and determine when coverings stay in place. Remove protective wrap only when it could interfere with safe rigging or conceal a problem that needs inspection.
Inspect each section when it arrives
A quick arrival inspection records the condition of visible exterior surfaces before the set. Look at corners, roof edges, windows, doors, siding panels, soffits, and any projecting trim.
Photographs taken before unloading create a useful record if a question arises later. They also help the crew spot damage early, while its source may still be clear.
After inspection, protect finished corners from contact with delivery equipment and nearby materials. Keep tools, loose hardware, and blocking away from siding and door openings.
Control tag lines and landing speed
Tag lines help the ground crew limit rotation, but they should not pull a module sideways against the crane's line. Excessive side loading can make the load hard to control and bring corners into contact with the foundation or another section.
The crane operator should lower the module slowly as it reaches the structure. A rushed landing can chip concrete, damage sill areas, or shift protective materials out of position.
Set crews should keep hands clear of pinch points. Use approved tools and communication methods to guide final alignment without placing people between the module and its bearing surface.
Control the Final Placement and Section Join
The final approach is where finished module protection becomes most visible. The crew must align the module accurately while preserving siding, weather barriers, roof details, and mating surfaces.
Do not use the crane to force a section into place. If the module doesn't align, stop and identify the obstruction, elevation issue, or connection conflict. Forcing a fit can damage both sections and hide a structural problem.
Align without scraping mating surfaces
Before the second module reaches the first, confirm that connection areas are clear. Remove loose packaging, temporary materials, and debris that could prevent a clean fit.
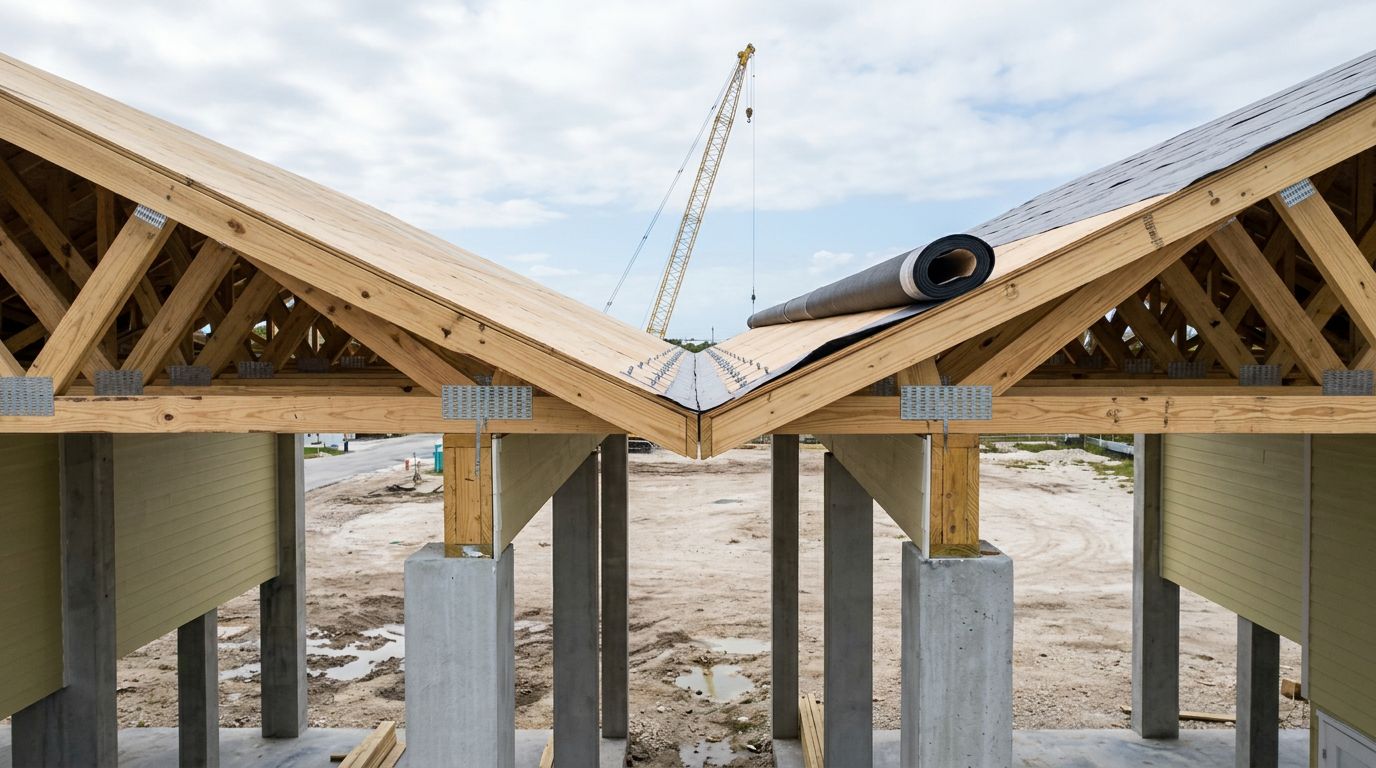
Crew members should watch roof lines, exterior corners, floor connections, and wall intersections as the gap closes. The placement should follow the approved set procedure and allow access for fastening and weatherproofing.
Once the module bears properly, release the crane load only after the crew confirms stable support. Premature release can shift the section and damage finished areas during correction.
Protect openings and weather-sensitive details
Door openings, window frames, roof seams, and exterior wall joints remain exposed until the installation team completes the required connections and weatherproofing. Rain can enter quickly through an unfinished joint.
Plan tarps, temporary covers, and materials before the first section arrives. However, secure coverings so they don't rub finished surfaces or become wind hazards.
Coastal weather can change quickly. If rain or wind interrupts the set, the crew needs a defined stop point and a method to protect exposed connections before leaving the site.
Coastal Elevated Structures Add Placement Challenges
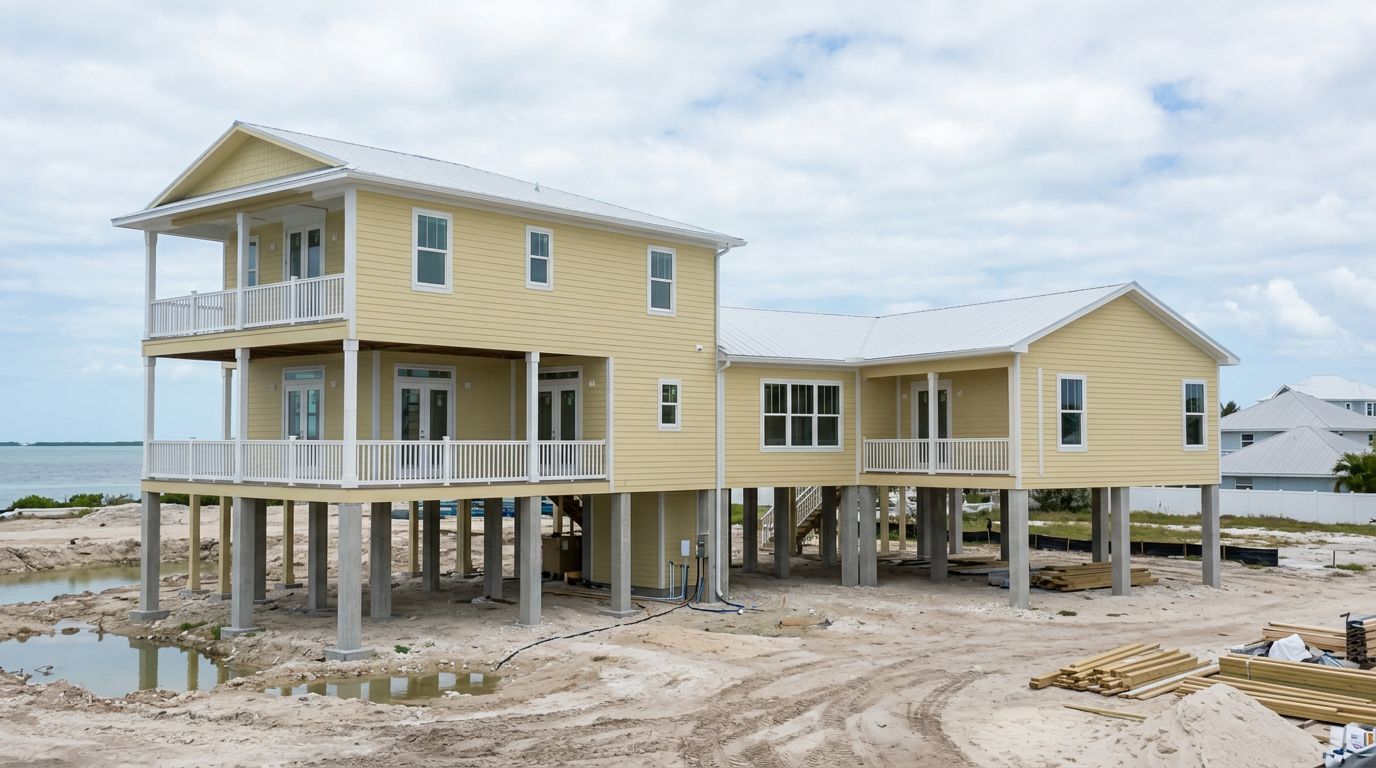
Elevated concrete systems create more space below the module, but they also reduce the margin for error. A section may need to pass over columns, brackets, or elevated beams before it reaches its final support position.
The crew needs clear sightlines to bearing points, as well as safe access around the raised structure. Temporary work platforms, fall protection, and protected walking paths may be necessary, depending on the site and work plan.
Watch wind limits and weather windows
Wind affects load control, especially with broad wall surfaces and long roof overhangs. Crane operators follow the limits for their equipment and lift configuration. If conditions exceed those limits, the set stops.
A delayed delivery or weather hold can create standby time for the crane, trucks, and installation crew. The contract should explain how mobilization, waiting time, rescheduling, and weather-related delays are handled.
Salt air also affects exposed connectors and fasteners. Use the materials and connection methods called for in the approved plans, especially near the water.
Coordinate foundation, crane, and utility work
A Modular Home Setup works best when every trade knows its boundary. The concrete crew, crane provider, installation team, utility contractors, inspectors, and site superintendent should work from the same schedule.
Utility trenching, electrical service, plumbing connections, HVAC work, septic systems, and final grading often fall outside the crane set scope. Confirm access for those trades without placing new excavation or materials where they interfere with the installation work.
Put Responsibilities and Contingencies in Writing
A clear proposal prevents confusion on set day. It should describe the planned crane size, number of picks, anticipated work hours, rigging needs, access assumptions, and any required mats or escorts.
It should also state what happens if the foundation isn't ready, the delivery is late, weather stops the lift, or site conditions differ from the original review. These details protect the schedule and help everyone respond without guesswork.
Review exclusions before equipment mobilizes
Read exclusions line by line. Common items include permits, engineering, surveys, soil reports, utility connections, landscaping, driveway repairs, final grading, and restoration of disturbed areas.
If piles, helical piers, dewatering, engineered fill, or unusual excavation support may be needed, the contract should state whether those items are included, excluded, or priced separately. Ambiguity is expensive once the crane is on site.
Assign one decision-maker for set day
The site needs a designated person who can approve access changes, resolve missing materials, and communicate with the crane and delivery teams. That person should have current plans and contact information for the responsible trades.
A short pre-lift meeting brings the team back to the same plan. Confirm the set order, communication method, weather conditions, emergency stop procedure, and areas that must remain clear.
A Protected Set Starts With Preparation
Finished surfaces stay intact when the foundation, crane plan, access route, rigging, and crew communication work together. The crane set should never become the first time the project tests those details.
For elevated coastal homes, finished module protection requires accurate concrete bearing points and realistic equipment planning. Careful preparation keeps a precision lift from becoming a repair project.
Recent Posts